As a beginning gardener, and someone coming from a non-season eating background, I find I don't have a good feel for what should be going on in the garden at any given time throughout the year. Thankfully my landlord lent me a publication entitled "The Maritime Northwest Garden Guide: Planning Calendar for Year-Round Organic Gardening". It is location specific and provides succinct information on what plants you should be staring indoors, sowing outdoors and other seasonal preparations.
There are two things that I have been trying to keep in mind throughout this process to justify my decisions.
1.) There are about a MILLION and a half ways to garden
2.) Plants WANT to grow
First up? Soil Prep!
Soil preparation is very important for gardens, as intensive techniques and extensive use of annual plants can deplete the soil of vital micro-nutrients. Soil is a actually a very beautifully complicated thing .. not just dirt, but a vast ecosystem of micro and macro biota (e.g. fungus, worms, insects, bacteria). If you take good care of your soil, it will take good care of your plants.
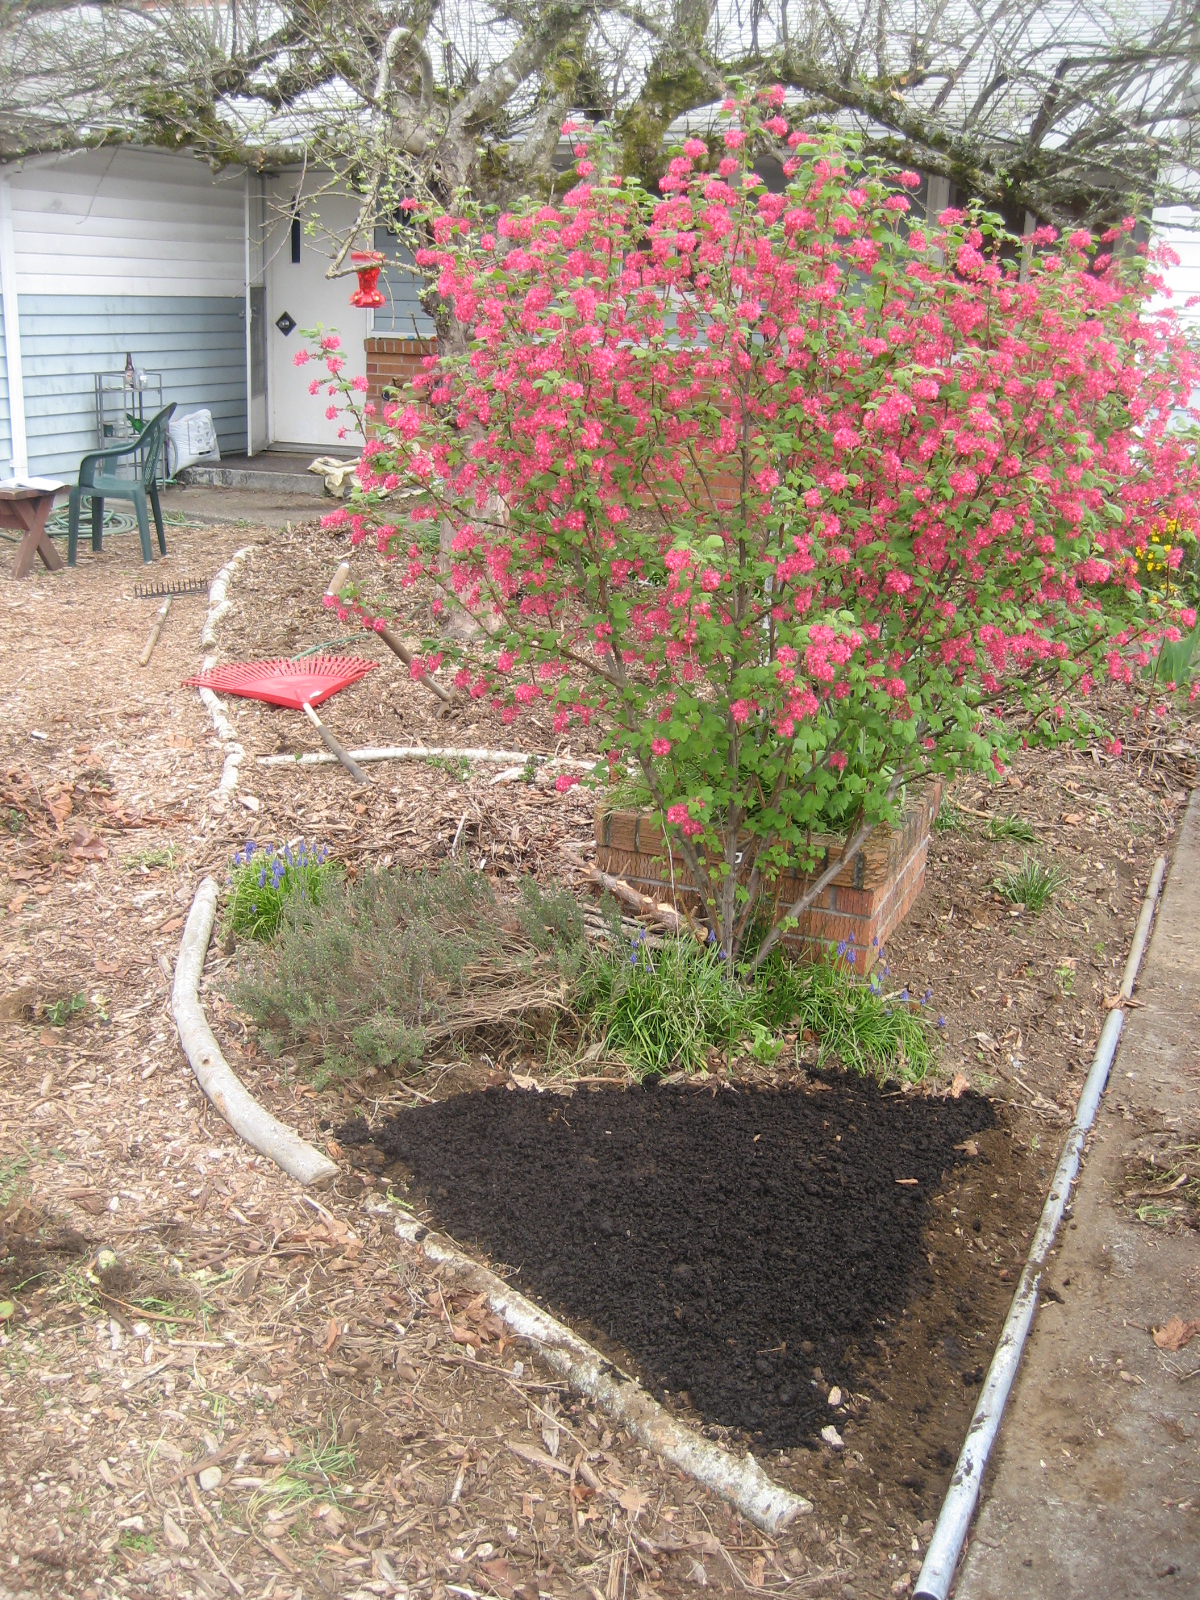
As most of the beds I have been allotted this year have been out of intensive cultivation for at least a season or two, I have a lot of work to do. The front yard of my home has been a garden for 8 years, but much of it was just mulched over by previous tenants. Below are some before and after shots of my prep
 |  |
 |  |
 |  |
To ensure the best possible fertility, a soil test was done via Black Lake Organics, indicating nutrient levels in our loam soil were fairly good, but could use a little adjustment to the Boron, Phosphate and Magnesium. A custom organic soil amendment was made for us, utilizing sulfate compounds of the aforementioned elements to also reduce pH slightly (currently at neutral pH 7.0, should be slightly acidic at pH 6.5 though).
 |  |
 |  |
 |  |
 |  |
The soil amendment is sprinkled on at a ratio of about 1 Kg for every 5 m^2. Then I fork it in, then cover with compost to ensure lots of microbial activity!